Fresh Mozzarella cheese is a delightful addition to any summer table and is fairly easy to make. First you will need to gather the specialty items required for cheese making like the rennet and some powdered citric acid. I order mine online but if you have a store nearby that sells cheese making supplies you will be able to find what you need.  You will need:
1 large pot, ceramic or stainless steel, NOT copper
1 liquids thermometer
1 slotted or perforated spoon
1 Colander
1 pair thick rubber gloves
1 Gallon of Whole Milk NOT Ultra Pasteurized
1/4 tablet tablet or 1/4 teaspoon liquid rennet
1 1/2 to 2 teaspoons powdered citric acid Salt Water
Step 1: Prepare the citric acid and rennet Mix the citric acid in 1 cup of cool water until dissolved Mix the rennet in 1/4 cup of cool water
Step 2: Add the Citric Acid Pour the citric acid mixture into the large pot and add the cold milk. Stir for 30 seconds to ensure the acid is mixed throughout the milk. Heat slowly, stirring occasionally until the mixture is 90 degrees. Milk may curdle slightly during this step. 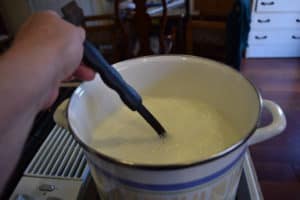
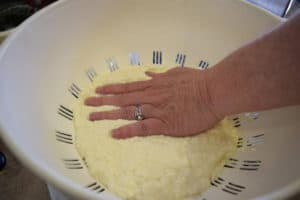
Step 3: Set the Milk Remove the pot from the heat and stir in the rennet mixture. Stir for 30 seconds top to bottom to ensure the rennet mixture is mixed throughout. Check the curd after 5 minutes, it should look like custard, with a clear separation between the curds and whey. If the curd is too soft or if the whey is milky, let it set for a few more minutes. 
Step 4: Cut and cook the curd With a sharp knife cut the curd into a 1 inch checkerboard pattern. Let this rest for 2-3 minutes. Return to a low heat and heat to 110 degrees. Stir carefully to even the heat distribution but don’t stir the curd apart.
Step 5: Drain the curd Transfer the curd into the colander set into a bowl for the whey to drain into. Salt the curd to taste as you put it in the colander. It will get worked in when you stretch the cheese shortly. Fold the curd around to help drain off more of the whey. The more you work the curd at this stage the drier the final cheese will be.
Step 6: Stretching the cheese (some recipes substitute this hot whey bath melting process with a few trips through the microwave) Put on the thick rubber gloves as the cheese will be too hot to touch bare handed during stretching.
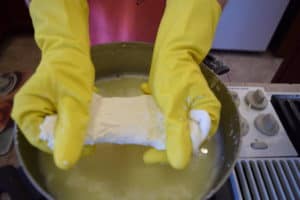
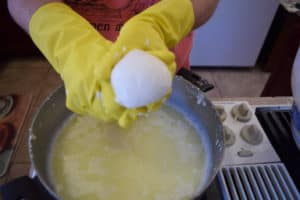 Return 1/2 to 3/4 of the whey to the heat and warm it to 180 degrees. This will get the curd to the melting point for stretching. Turn down to a very low simmer to keep the keep the heat but you don’t want it to boil, turn it off and reheat if needed. Put a small handful of the curd into your slotted spoon and submerge it in the hot whey until it appears melty and sticks together when you pinch it. Lift from the liquid and start folding the cheese over and then stretching it out, fold and stretch until it has a smooth, taffy like texture and begins to shine. If it breaks too soon you need to get it hotter by putting it back in the bath on the spoon. There is a bit of a learning curve during this step. Each time you have to re-dip you lose a bit of flavor. Once your cheese is stretching and shiny form it into a ball.
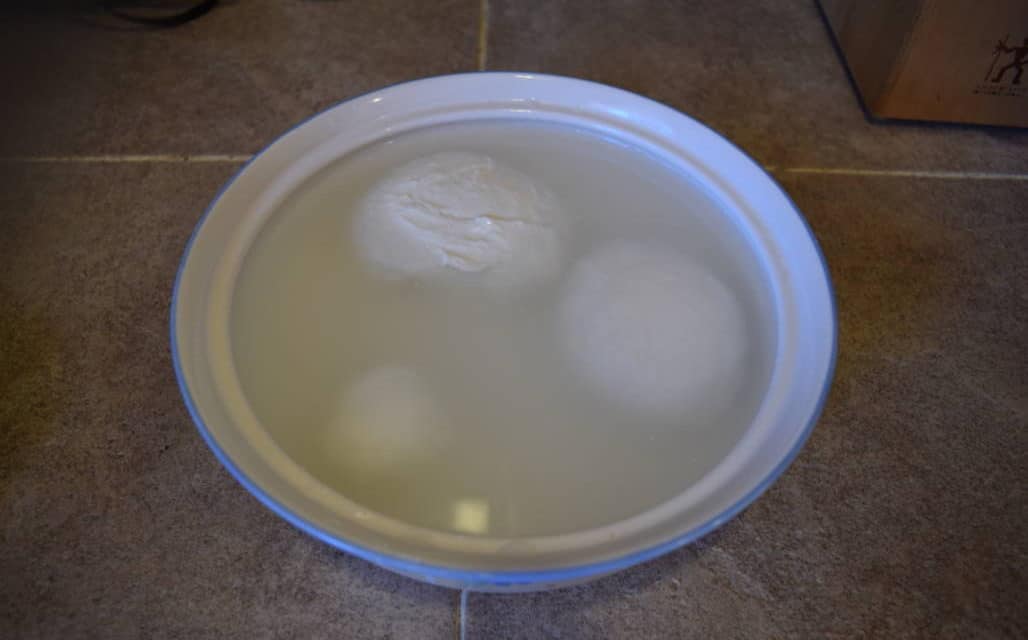
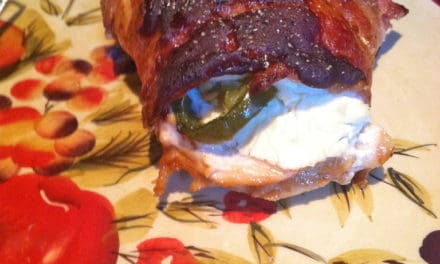
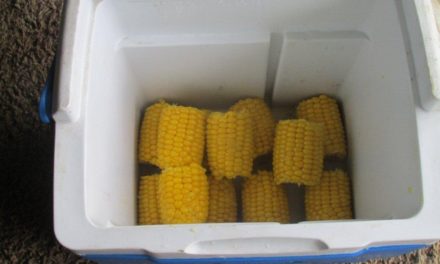
Step 7: Cool and brine your cheese Now your mozzarella is finished. Make a simple brine with 2-3 tbs. of salt plus 2-3 tbsp of your clear whey from draining the curd and 1 quart of very cold water. This will cool the cheese and help it hold it’s shape. Soak in the brine for a few hours then dry in the cheese balls in the colander. Store wrapped in plastic wrap or in an air tight container. One of my favorite ways to serve this fresh and wonderful treat is to simply add it to a slice of good crusty baguette bread drizzled with olive oil and topped with fresh tomatoes and basil. However you serve it, your dish is sure to be delicious.


