Oven Baked Pork Ribs from Gentleman Jim
Gentleman Jim’s Oven Baked Pork Ribs When someone shares a great recipe like these Oven...
Read More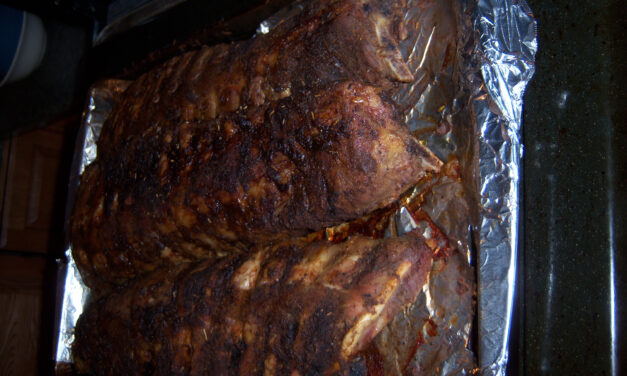
Gentleman Jim’s Oven Baked Pork Ribs When someone shares a great recipe like these Oven...
Read More
Some links in this article are Amazon affiliate links. As an Amazon Associate, I earn from...
Read MoreGluten-Free Crumble Topping for Blueberry Muffins Bring a special topping to your homemade...
Read More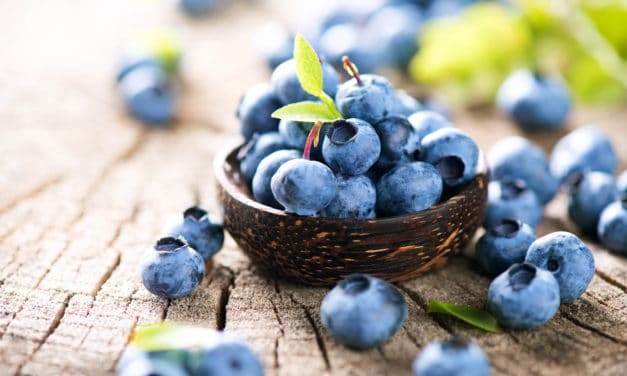
Freezing Fresh Blueberries By Eileen Majors Choose Benefits of Fresh: I love to find beautiful,...
Read More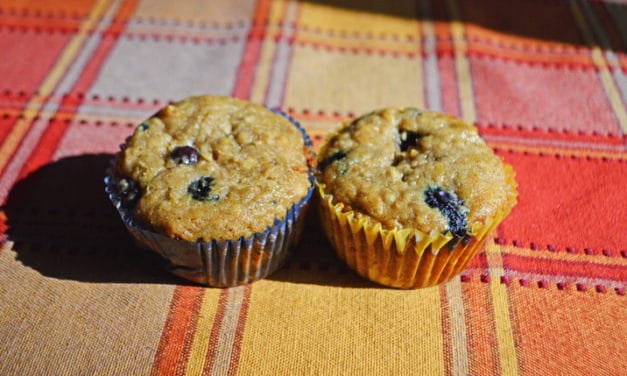
Gluten Free Blueberry Muffins One of my Favorite Gluten Free Recipes Since I found out I...
Read More