Handmade Greeting Cards
In this age of social media and comedic memes greeting cards seem to land less often in our...
Read More
In this age of social media and comedic memes greeting cards seem to land less often in our...
Read More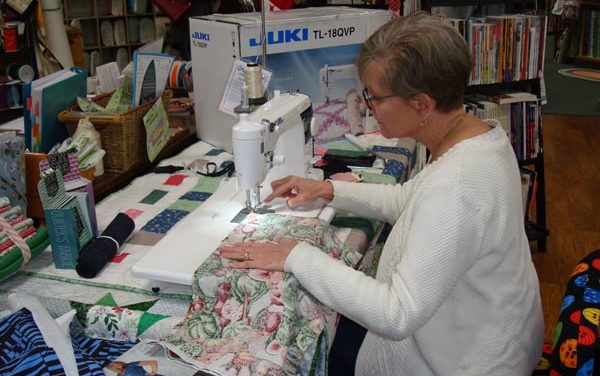
Quilting and sewing in general is a learned skill that requires a bit of study and practice....
Read More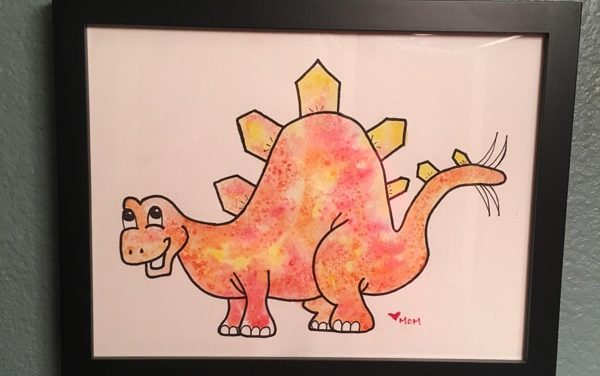
This is our go-to art project. It’s for all ages, because it’s easy and the finished product is...
Read More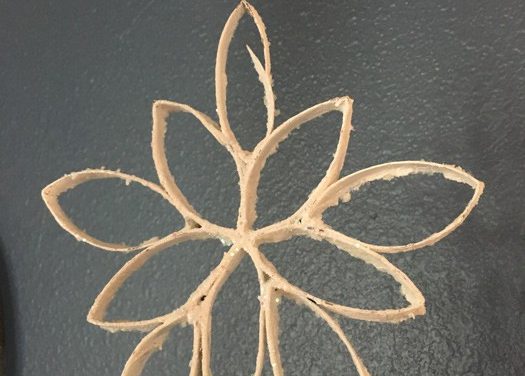
Easy Snowflake Ornaments To Make With The Kids By Ashlee Herrera You need toilet paper roll, hot...
Read More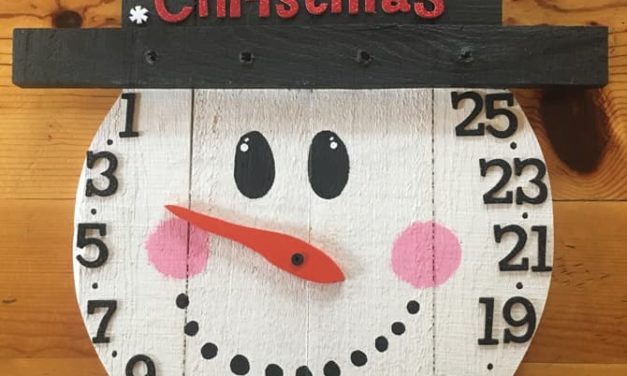
By Ashlee Herrera Strip a pallet. Staple together 4 boards.They are too long so you can either cut...
Read More