Hi! I am sitting here in my beautiful office watching out the window and wondering, “When did it get sooo hot???” It seems like it took forever, but here it is! Now, I mention my beautiful office because I spend a LOT of time here and love my office. But, I find myself wishing I had air conditioning, or maybe a ceiling fan? Are you feeling like me? Could you use a ceiling fan in a beautiful, but very warm room? Why don’t we both install one today?
A fan is such a good choice. Not only does it help cool the room, but it is also a great choice to help reduce cooling as well as heating costs. A ceiling fan circulates the air to make room temperatures more comfortable without additional heating or cooling. What a smart AND beautiful choice! Our application today will be to replace an existing fixture with your new ceiling fan.
Tools: Screwdrivers (various sizes), Nut driver, Adjustable wrench, Ladder
Materials:
New ceiling fan: follow this rule of thumb when purchasing your new fan. (a) Be sure you have at least 10” clearance between the ceiling and the fan blades. (b) Also important, be sure to have at least 7’ clearance from the fan blades to the floor. (c) Your fan should fit properly in the room for maximum efficiency: purchase a 36 inch fan for a room with 12’ or less, largest room dimension; purchase a 48 inch fan for a room with 12’ to 15’, largest room dimension; purchase a 52 inch fan for a room with 15’ to 18’, largest room dimension.
Ceiling fan balancing kit (after fan installation, it may “wobble” when running. This is not due to an installation problem or manufacturers defect. Follow the directions on the balancing kit and voila, perfection. No more wobble!)
Electrical fixture box w/ adjustable brace or 2×4 block
Wire connectors
Keep these tips for DIY safety in mind:
1. ALWAYS SHUT OFF THE BREAKER at the main electrical service panel before working with power.
2. Make sure you test the power to make sure it is OFF, BEFORE you begin the work
This job will be easier with two people and will take approximately 2-3 hours if you are a beginner.
Step 1: Turn off the power at the breaker & test your light switch before doing anything.
Once the power is off, remove the old fixture and electrical box. Typically ceiling fans are too heavy to be supported by an electrical box. If you have access to the box in the attic, use a UL approved ceiling mount box with an adjustable brace instead.
Step 2: From the attic, place the brace between two joists so the bottom of the legs are flush with the bottom of the joists. Hand-tighten the bar by rotating to force the end spikes into the joists. The face of the electrical box must be sitting below the joists. Be sure they are also flush with the finished ceiling fixture. Using your wrench, tighten the brace bar one full rotation. This will anchor the brace tightly against the joists.
If you have chosen to use a 2×4 block, cut it to size & toenail it into the joists. Once it is secure, install your ceiling mount box to the block.
Step 3: Take your existing electrical cable and feed it into the fixture box. Secure with a cable clamp.
Step 4: Now for the ceiling fan kit. Place the fan mounting plate over the bolts which are extending through the hole in the center of the mounting plate. Attach the mounting nuts and tighten them with a nut driver.
Step 5: A mounting hook should have been supplied with your kit. Hang the fan motor from this hook. It is time to wire the fan to the existing electrical wire. Connect the wire leads using your wire connectors. The colors must coordinate with each other: black to black, white to white & the grounding wires to the green lead. Once the wires have been twisted together, use your wire nuts to secure them.
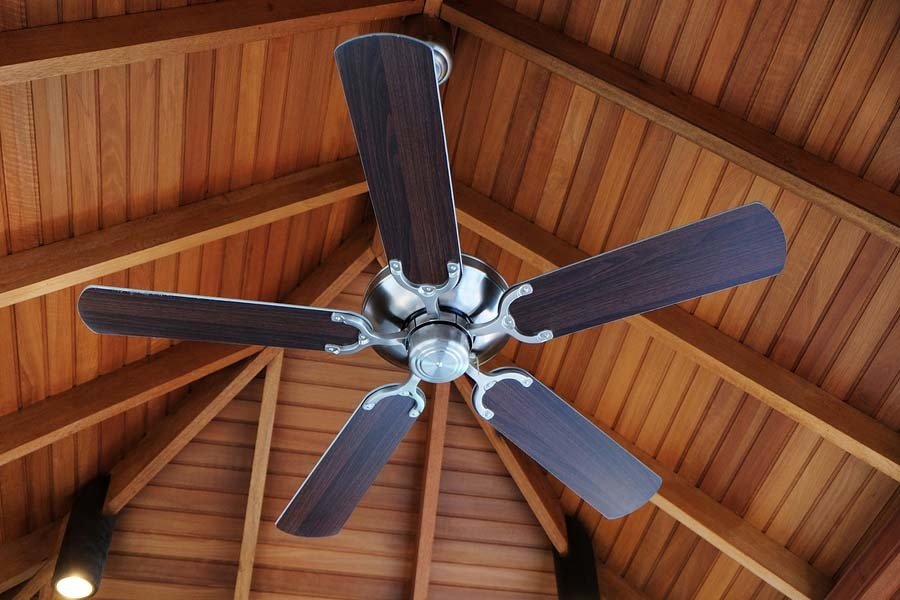
Step 6: Installing the motor cover & fan blades are your next step. When you purchased your ceiling fan, there should be explicit directions on how to complete the remainder of the job.
Your beautiful room is now equipped with a beautiful breeze! Enjoy your fan year-round and remember…..You did it yourself!!!!
Don’t forget to stop by J’s Feather River Rentals when you are in Portola, or call us at +1.530.832.5462. We would love to answer any questions, show off our equipment, or just meet you!! If you are thinking of a home project, but you’re not sure how to get started, let me know. You may find help next month, when you are Toolin Around With J!!


