Fun to Make Origami Advent Calendar
You will need:
• 24 – 3 ½ ” X 3 ½ ” squares of sturdy, patterned paper, like wall paper, heavy, gift wrap or patterned printer paper. Choose several coordinating patterns to make your project fit your holiday décor.
• 1 piece of cardboard approx. 18-20” high by 14-16” wide, covered in small print pattern or plainer pattern, such as foil paper, parchment, etc.
• Double-sided tape and/or glue (Spray glue is helpful in covering the backboard.)
• 24 – 1/2“ to ¾” circle stickers
• Optional felt for back of board 16” X 20”
Cover backboard with wrap by lightly covering cardboard with glue. (spray glue works well), then affixing paper carefully on board. Trim any excess paper leaving about 2” around the perimeter. Fold corners like you would sheets or gift wrap and glue down the excess paper on the back of the board. If you would like to cover the back of the board, you can glue a piece of felt or more paper on the back to cover the edges.
How to make an Origami for each pocket:
1. Turn the paper square upside down on table so pattern faces down.
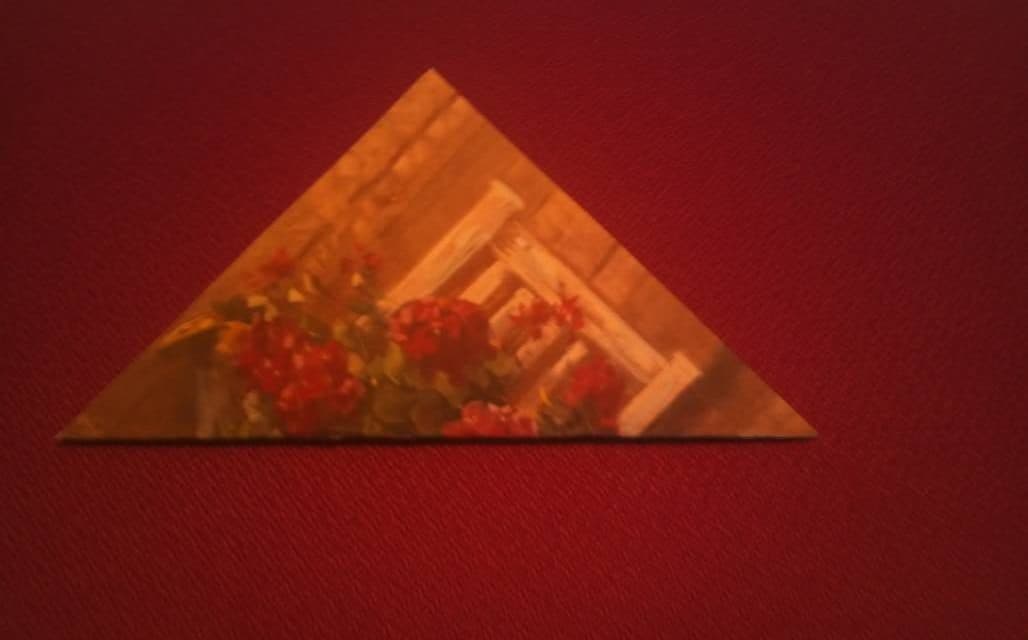
Now fold the square in half so the bottom corner now evenly reaches the top corner, pattern showing.
2. Looking at triangle with point side up, fold down front top corner to just the bottom edge, and make a crease. Then unfold this flap, so you can see crease mark.
3. Fold bottom right corner up to the crease shown from the previous step. Line up the edge of the paper perfectly along the crease.
4. Repeat same fold with bottom left corner to form octagon shape with “basket”. Secure these two flaps with glue or the circle sticker. (Note: neatly number circle stickers from 1 – 24.
Glue or tape each “basket” onto the paper covered board, 5 baskets wide by 5 baskets high, except the bottom row, which only holds 4 baskets. Arrange in order from 24 (top left) to 1 (bottom right. In the spot where the 5th basket would go on the bottom row, neatly print on plain or colored paper “MERRY CHRISTMAS!”
 MVL
MVL MVL
MVL MVL
MVL


